My Lynda.com Experience

Throughout my professional career I have set many goals, however one of the most important goals was always to be a lynda.com author.  I have been fortunate enough to be an Adobe Educational Leader and an Apple Distinguish Educator, however, the goal of being a Lynda.com author always was at the front of my thoughts, especially after every summer during which I attending the Adobe Educational Leaders conference .

Among the yearly attendees at the AEL conference are Tom Green a professor of interactive multimedia at the Humber Institute of Technology and Advanced Learning in Toronto, Ontario and Jim Babbage an Adobe Solutions Consultant, photographer, teacher, writer and web designer).  These guys are design gods to me, not only because both have written countless numbers of books, but most importantly to me, they created Lynda.com courses.  To me both of them represent excellence.  So for years I listened to their stories and just wished I could one day be a part of such an incredible company.

Around 2010 I met a trainer, Maxim Jago (www.maximjago.com ) at an Adobe event and was completely blown away by his approach to content delivery, his overall knowledge, and his abilities to work a room effectively.  I never thought for one moment that he would be the catalyst to connect me with Lynda.com.  It is amazing how the dots are connected when and how you least expect.

I met Maxim for lunch one Saturday in London, mainly because I was so interested in how as a teacher he could be so damn good at what he did and I also liked his personality because he was such a very nice person.  The changing point for me in our conversation that day was when he asked what I was interested in and what I was doing in terms of my job.  I showed Maxim some of the content I created for the IPad, IPhone and Android and he was in his own words “blown away”.

He immediately tried to figure out how he could help me promote the materials I had created, I didn’t even ask him to help me. But I have learnt that successful and creative people want to help other people become successful.  He gave me a few names and numbers and I was excited, but hey, that self esteem person stood up and said to me “What you think you are good enough to be a Lynda.com author?”  Well, as a lot of us do, I said of course, you are not.

About a year went by, I got a job at Chiswick School in Chiswick, where my responsibility is to teach and create interactive materials for students and teachers.  After the first year and the reactions I received based on the content I had created, in the back of my mind Lynda.com kept coming up. Lynda.com constantly crossed my mind because  it is the site that I use daily, as I am constantly trying to learn how to use the various types of software to improve my skills and make sure that we can engage students and teachers in their daily lives at Chiswick School.

Well a few months went by, I spoke at a few national and internationally conferences, spoke to teachers and Head teachers, both locally and nationally about getting IPad into their school and how true personalised learning, in my opinion, is the most important thing they could do for their students.  More and more the response from the audiences was “this is amazing” “Can you work in our school” and so on.  Then I thought, “What the hell?” The world needed to know about the content I am creating.  So I found the contact numbers from Maxim and made the call. It was time.  The lesson I learnt from that experience is that if you first dream you can make it happen.  I mean why not?

Lynda.com Experience – Day One

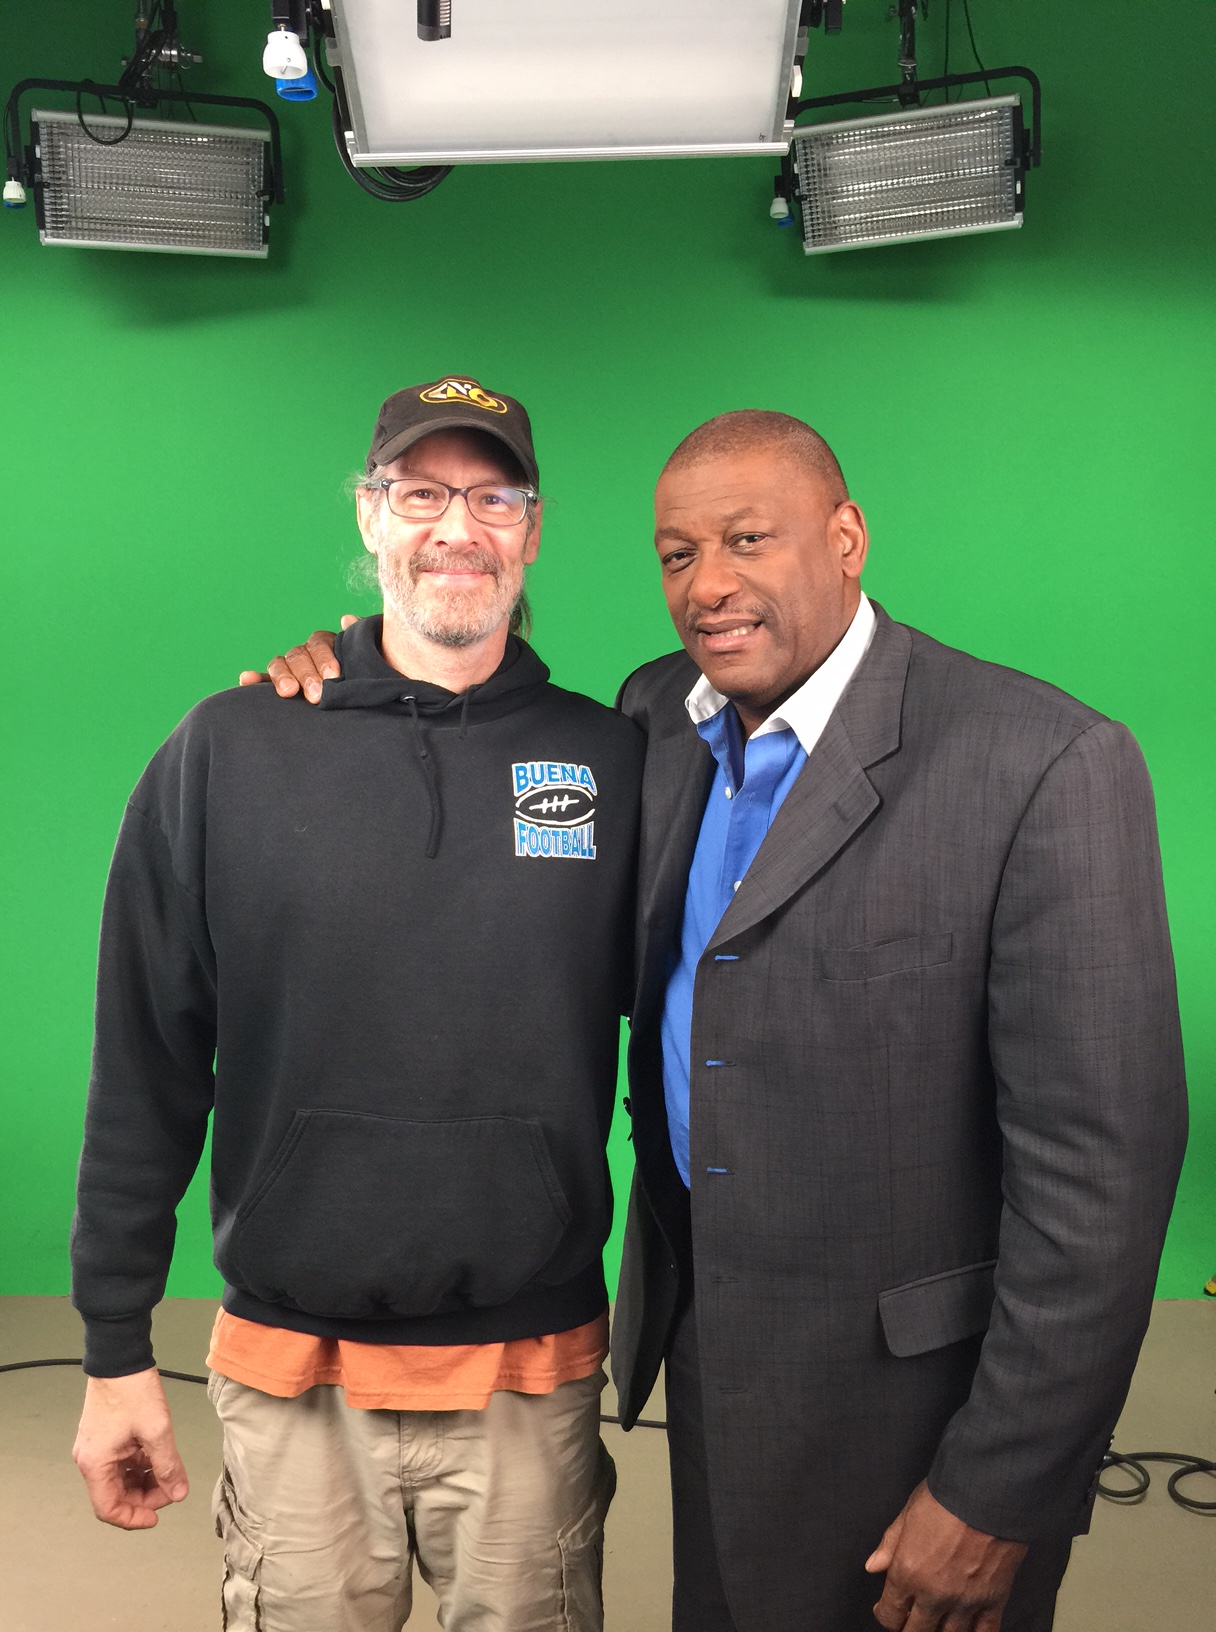
After a 12-hour flight to LA and then an hour and a half drive to Carpentaria, CA, (which included a dinner stop over to meet a very good friend of mine, Rick Zanotti for the first time after years of just communicating on Twitter and appearing on one of his web based eLearning shows), I was ready for my Lynda.com adventure to start.
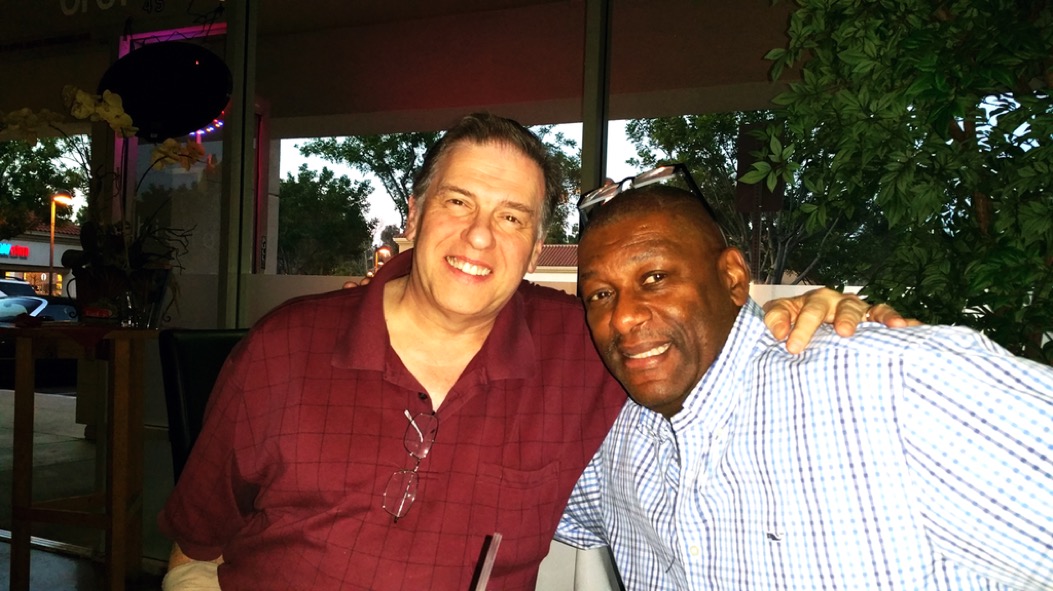
IMG_1272
Rick and Renaldo

Monday morning arrived, every bit of 2:30 am and I was awake.  Serious 8-hour time difference wouldn’t allow me to sleep, so I read through of the 65-page script that Shea (project producer) and I had completed over a three-month period, took a run and hit the gym for a workout.  After breakfast, I decided to take a ride and find the Lynda.com offices just to make sure I could get there on time.
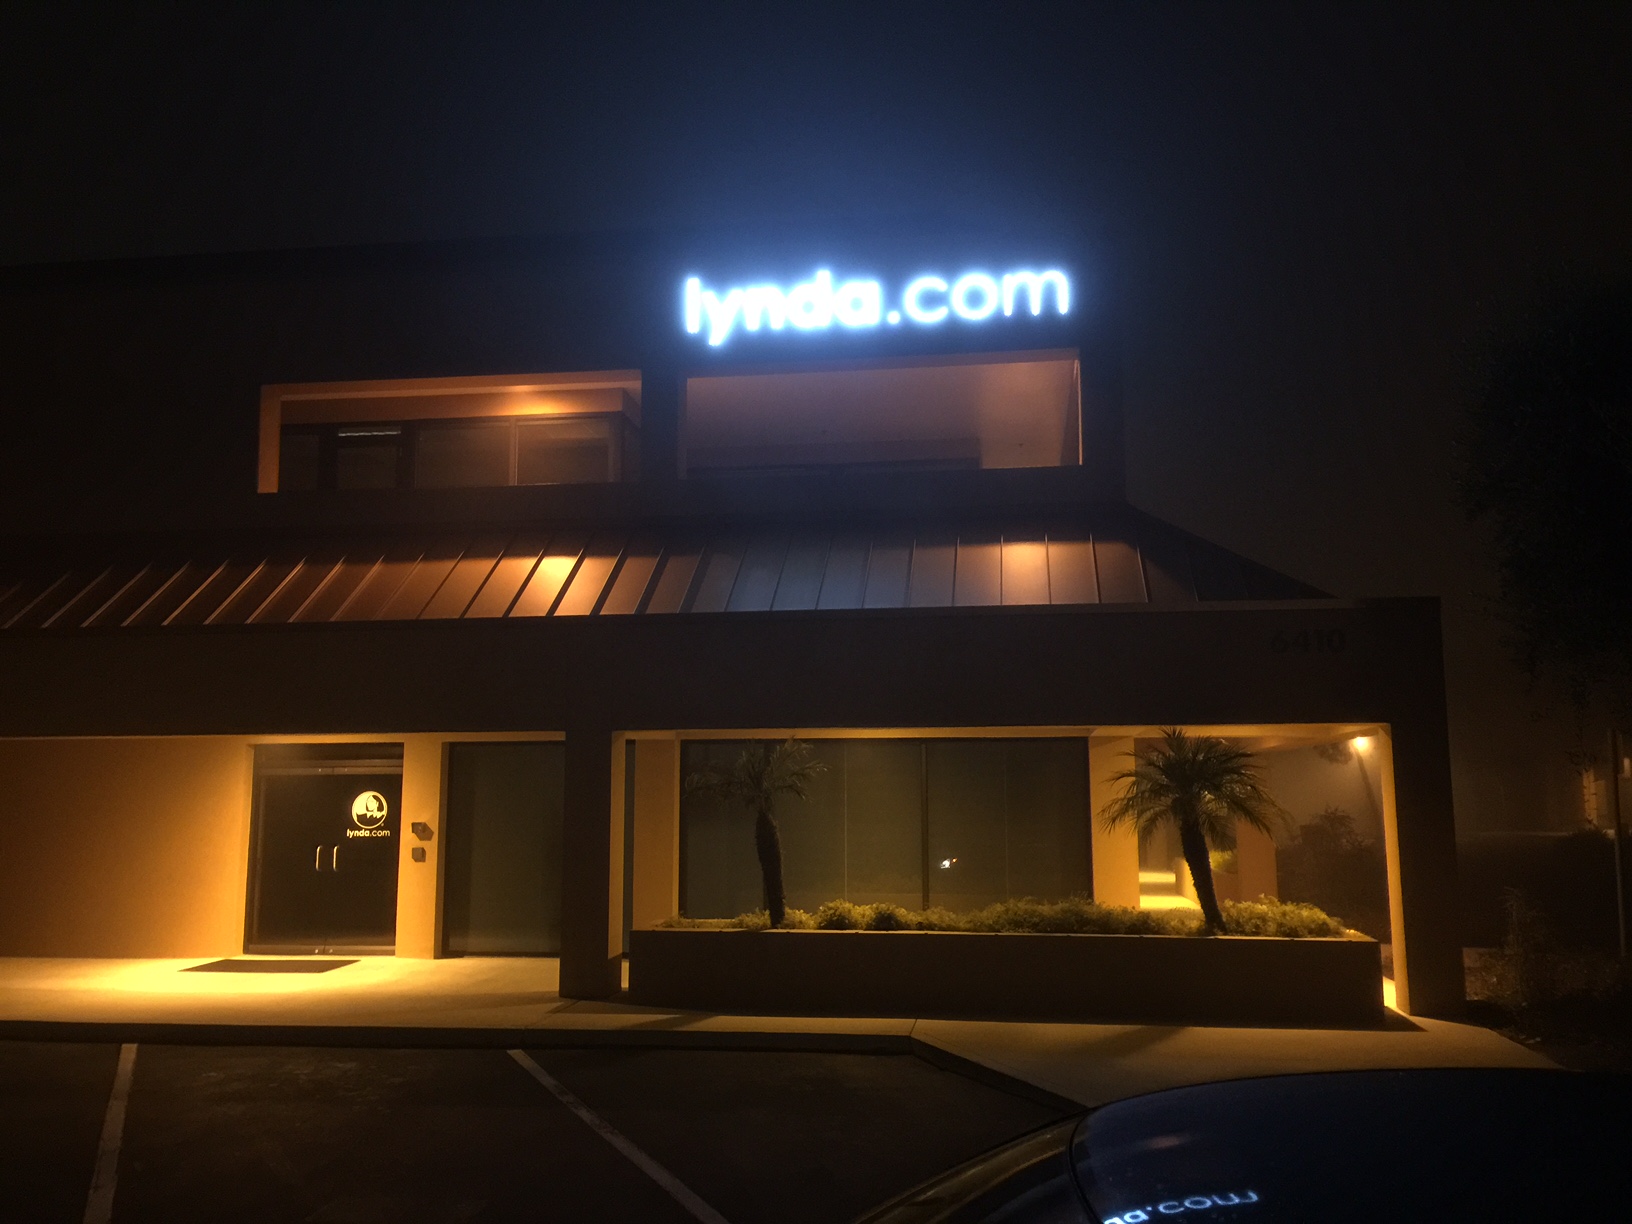
IMG_1270
Lynda.com Offices

Sitting outside the Lynda.com offices at 5:30am, the thought came to me about how I got here. I find it amazing that 9 months ago, I was writing down my goals and one of them was to be an author for Lynda.com and now, I was outside the companies office.  I am also so thankful that so many people have helped me get to this point, but the one I just want to call out and thank is the Head of Chiswick School, Tony Ryan. He has a vision for Chiswick School and I am blessed that I can help him accomplish the goal of positioning Chiswick School as a leader in eLearning, not only nationally but also globally.

So being here was sort of surreal. My primary objectives for the training videos we were going to create were to:

  • provide teachers with an overview of the multimedia creation process.
  • share my experiences with teachers so they hopefully they don’t make the same mistakes I made when I got started.
  • help teacher’s learn how to deliver the products that they have created making sure that they are targeting the right audience and devices.

And in my experience there is no better way to reach teachers around the world than through Lynda.com.

Arriving at Lynda.com around 8:30am, my first meeting was with Holly who was the receptionist.  This meeting really set the tone for my whole week’s experience at Lynda.com.  Holly was welcoming, helpful and delightful, and a pleasure to meet and talk to.
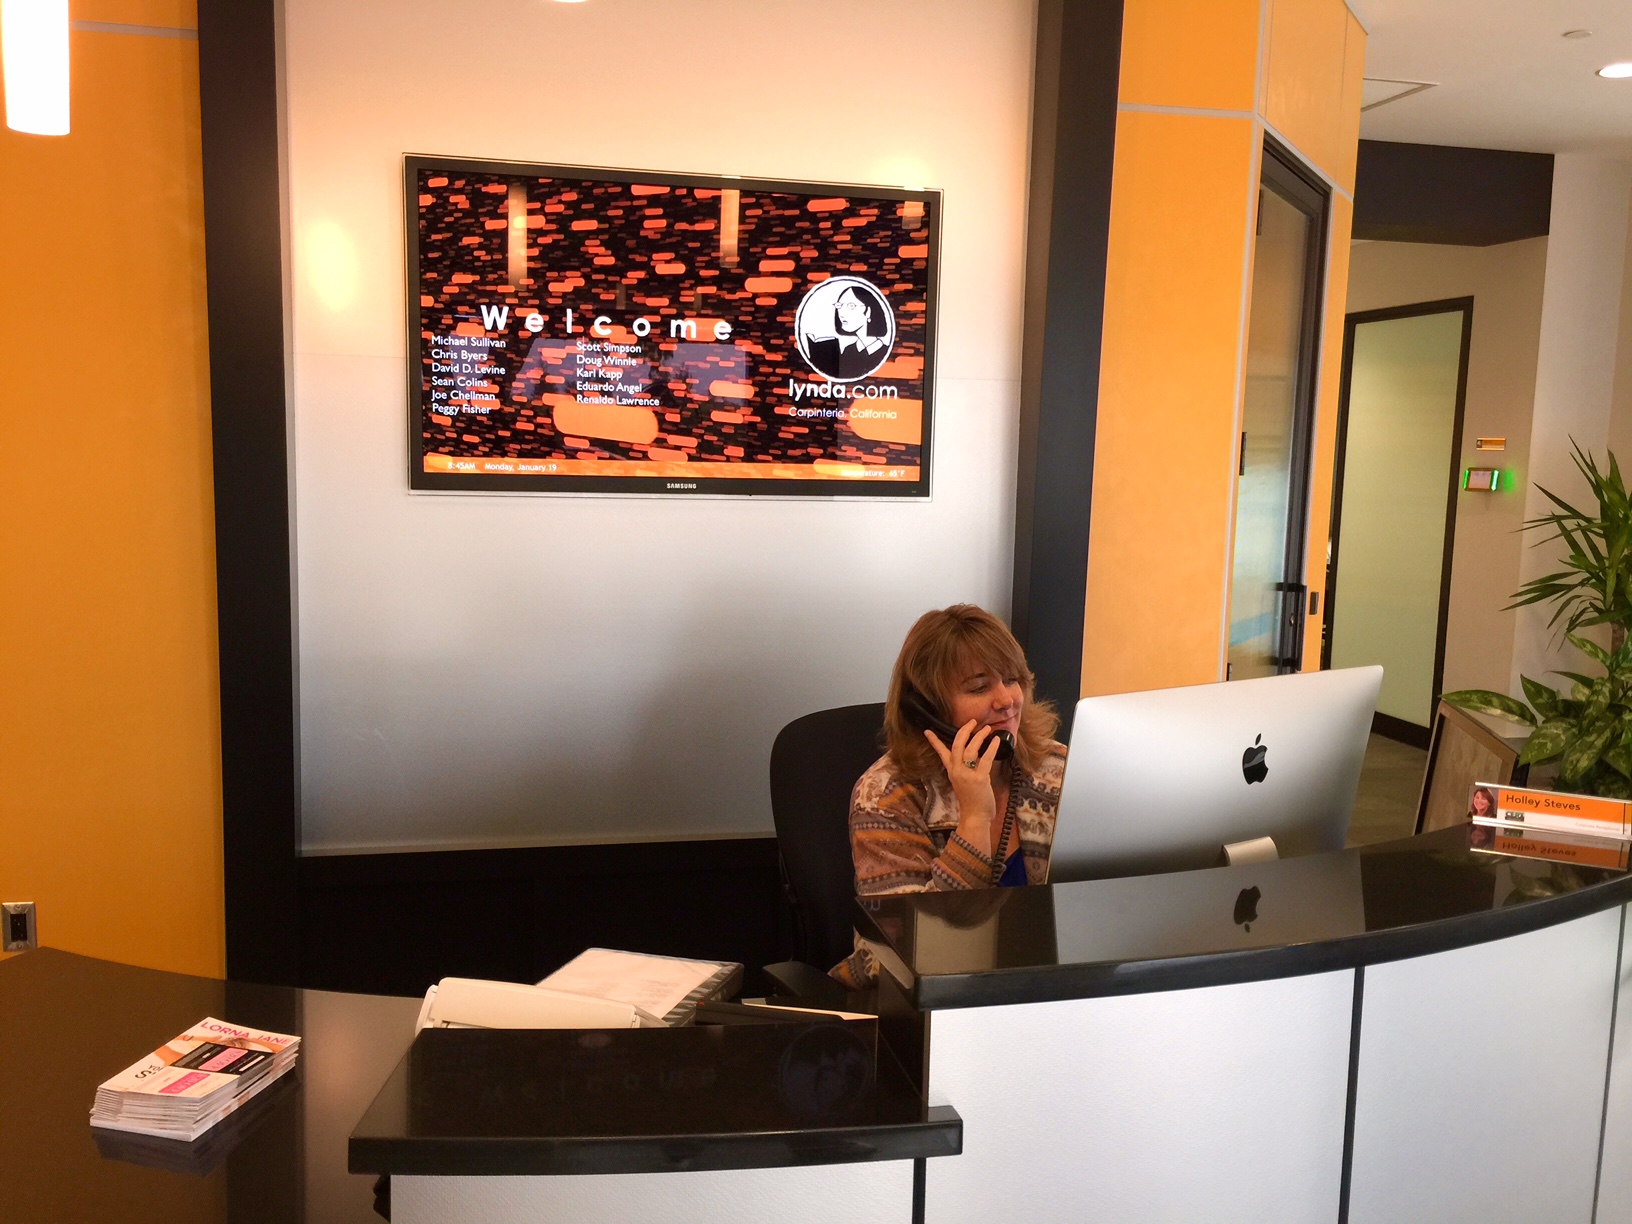
FullSizeRender copy
Holly

After waiting a very short time for Shea, the senior producer on my project, whom I have got to know over the past three months, and who I was to work with the whole week, she took me for a tour around the studios to help me acclimatize myself to my new surroundings.  I was amazed by the size of the campus, as it comprises of more than eight plus huge buildings.

After the tour with Shea, where I was given my changing room for the week, Aron, the director and I decided on what wardrobe would be suitable.  I took around 5 suits just to be sure I had clothes, which would be camera friendly.

I cannot tell you just how professional, cool and relaxed these guys were and they really put me at ease with their approach.

IMG_1307
Renaldo and Aron

After I got dress it was time for makeup. Pamela, the makeup artist, did a great job and she was such a nice, professional person, who it seemed like I had known for a long time.  She made me feel at home and to me there is nothing like people who love their job and man she loved her job.  Pamela was an extremely likeable and positive person.
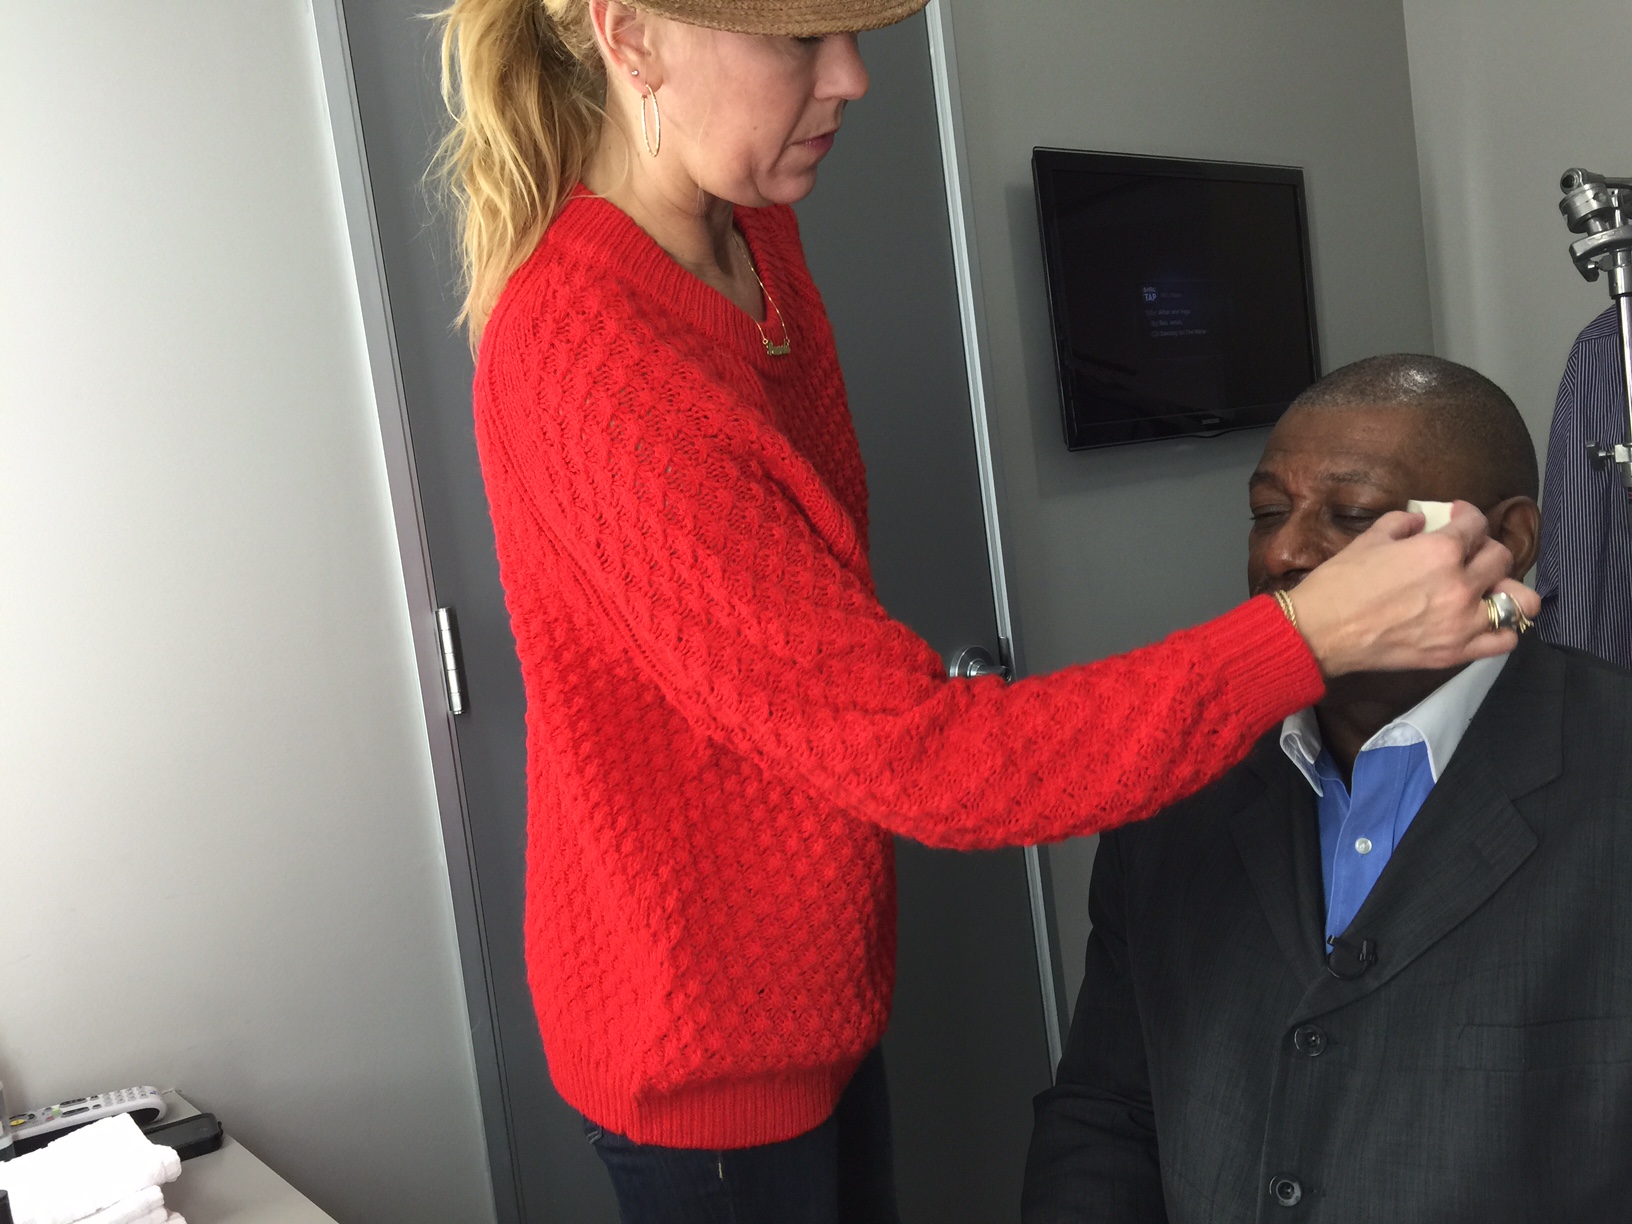
IMG_1283
Pamela and Renaldo

It was as though everyone that I met was one big family who genuinely cared about each other and the job they did.  As a matter of fact, at least 4 people told me that the work they did on a daily basis wasn’t a job. They loved what they did and getting to be in that environment everyday was an honour. WOW!!! Now that is the type of environment you want to work in each and everyday.  And this was just my first day!

When I look in the dictionary and look up the word professional, I will see a picture of Lynda.com there. Simply Amazing.

After makeup we went into the recording studio where I was introduced to my best friend for the week, the teleprompter.  We managed to get through 8 videos, and I never knew how hard it would be with the script changes, speaking, reading from the teleprompter and being enthusiastic all at the same time. However, the guys, Shea, Aron and Skyler (Skyler ran the teleprompter and did a great job) really made the process easy for me.They were extremely encouraging and nothing was too much trouble.  They are such amazing and interesting people who demonstrated each and everyday how passionate they were about their job and bringing out the best of me with total commitment.  Shea, Aron and Skyler, I really thank you guys so much for an unbelievable experience.

IMG_1342IMG_1349
Renaldo, Shea and Aron – Skyler and Renaldo

After shooting around five videos, Aron made a statement that blew my mind, which  I think  typifies why Lynda.com is so successful.  The video was good but Aron said “Renaldo that was good, but lets make it “GREAT!” WOW!!  I said, “You know what Aron, You are right LETS make it GREAT.”  And that again set the tone for our work the whole week.

After the video shoot, Shea and I set down and went over the script where we added other ideas, which would help teachers around the world create effective multimedia content.  Shea has a great brain, loves what she does, so calm and helpful so the ideas just flowed.  She has a wonderful way of taking what you have to say and really make it relevant to the course content in ways that anyone can understand.  A real skill and talent.

FullSizeRender_1

During our meeting I realized something earlier on and that was that Lynda.com really has a mission of making sure that the members get what they need to be successful and regardless of what it takes.  At the end of my meeting with Shea, I had homework to do which took another 3 hours to complete that night, which consisted of drawings, questions and other ideas on how to help teachers be successful with their multimedia content creation process.

FullSizeRender copy 2
Shea and Renaldo

Day one completed at the studio, now it was time to head back home and get my homework done.

Lynda.com Experience – Day Two

This morning started at 3:00am where I got up and finished my homework, which was assigned to me the previous day.  Headed to the gym for a workout at 5:30am and then for a run. Left for the studio at 8:30am even though we didn’t start till 9:00 today because I wanted to get in some practice time with my script.  I also came up with some other ideas, which I think will help our course so I wanted to discuss the ideas with Shea and Aron.

Wow, today was like a new world to me.  Having arrived early, I noticed that everyone was there and doing their own thing.  Within 10 minutes of being there we got started.  Having rested, I felt like a new person and my energy level were on a high.  So much until we decided to do all the videos I did on the Monday.  Man it felt great because as Aron said, “Renaldo that was good, but lets make it GREAT”.  Well today it wasn’t GREAT it was FABULOUS.  We worked like a well-oiled machine.  Aron has an amazing eye, which he has developed over time for creating outstanding video and getting what’s required to be successful.

Today I really realized just how special the work that we are doing at Chiswick School really is.

I had the opportunity to sit and talk with a guy today, Andrew, who was simply amazing in his views on life, how to get things done, and simply how to make life fun and enjoyable.  Andrew is responsible for making sure all the production stuff is done in the studio and I just want to say thank you to him. Andrew, you know why my friend, thanks for being so open and cool.  I appreciated it big time my friend. I really enjoyed our talks and as you said, we can start just where we left off when we see each other again. AND I will see you again my friend.

AndewqAfter lunch we went back to work creating the videos and we ended the video section of the day having completed around 15 to 16 videos.

After the video section, Shea and I worked on the additions to the new section we wanted to add to our script. Shea was amazing in putting together the details surrounding the additions. Once Shea and I completed the script and prepared for Wednesday it was time for me to have my picture done for the promotional marketing.  After this I changed and made my way back to the hotel, completely worn out but extremely happy because based on the videos today, I truly feel like a Lynda.com author.


One other benefit of being at the studio is that I got the opportunity to meet and hangout with Karl Kapp (Gamification course), a fellow Lynda.com author who was recording his second title.  Karl is a really nice guy who just does an amazing job with his courses and it was great to meet and hangout with him.

IMG_1318
Karl and Renaldo

We then had dinner with our great friend Rick Zanotti and his wife.

Afterwards I headed to bed with my script and thoughts of how I could help make the videos better.

Lynda.com Experience – Day Three

Woke up at 3:00am in the morning, got up, worked out and went to the studio.

Met Aron, where we worked on the remaining 7 videos for the project. Shea had meeting all-day during the shoot so I had two other producers (Josh and Carlos) to help us with the shoot.  Man we were cooking and the shoot went really smooth.  Thanks Josh and Carlos.  You guys ROCK!

After the first shoot, which consisted of 5 videos, we stopped for lunch.  During lunch I noticed Lynda, the owner of Lynda.com having lunch and decided that I needed to introduce myself to her.  She was such a sweet, bright and kind lady. We had a conversation based around what I was doing at Lynda.com and the course I was shooting. She was very kind and took pictures with me.

IMG_1317
Lynda and Renaldo (Photo taken by Sharon Kempner )

In the afternoon, we had 3 videos to complete, (2 for the project and 1 for our interview) which we did in about an hour.  So now all the green screen stuff was done, I then had around 40 minutes to wait for Shea to discuss all the B-roll we needed to create based on two of the application I built and a walk through of how I use Adobe Presenter to create language projects.  Among the fantastic things that happen at Lynda.com, there is always food around and available.  They really make you feel at home and make sure you know that what you do is of the utmost importance to them.  I MEAN everyone makes you feel this way and it is NOT an act.  I am totally amazed how everyone I met had an idea about what I was doing and how well the project was going. There is real communication throughout the organization.

Held my final meeting of the day with Shea, where we discussed:

  •      the recording of the IPad content on Thursday morning session.
  •      the re-creation of the language lesson using Adobe Presenter where I will walk teachers through the process of creating a course.  This will take place on Thursday afternoon if possible and if not then on Friday.
  •      me getting a manicure for Thursday’s demonstration of the apps on the IPad.

So I ended the day in a nails shop getting a manicure to help me prepare for Thursday’s recordings.

FullSizeRender

Lynda.com Experience – Day Four

Up at 2:00am this morning so no change in sleeping patterns. Really excited today about how successful the shoot has been over the last three days.  Over at Lynda.com I got there early so I could prepare for our IPad shoot, where we shot four of the apps I built for B-roll.

However, before we did this Aron and Shea had a surprise. Because of how well the shoot had gone, they had a discussion with Aaron Quigley, (content manager and staff author for Education at Lynda.com) about me doing an interview style shoot so the Lynda.com audience could get a better understanding of who I am and what the course is about.  I was excited about this because it would give me the opportunity to go off script and explain how I got started and my philosophy of education.  So we spoke with Aaron Quigley, where Shea, Aaron and I discussed the vision and direction of the interview. The next moment we were in the room shooting the interview.

 IMG_1326IMG_1304

What a wonderful experience being able to let teachers know that if I can create multimedia content so can they.  All it takes is the will to do it, practice, practice and more practice.  The best part of the interview was the response I got from Aron and Shea about how well the interview had gone.   As Aron said earlier in the week, “Renaldo that was good but let’s go for Great.” Well the interview we recorded was fabulous. Aron did a great job of asking questions and digging down deeper into my answers, enabling me to remember all parts of my journey to get where I am now. He helped coach me so that all of the great memories I have came flooding back to me. This was a completely, rewarding experience. One I will never forget.

Ok, now it was time to shoot the IPad apps. This went very smooth as we covered four of the apps I created with teachers at Chiswick School.

Lynda.com Experience – Day Five and final Day

This morning I got up at 3:00am did some reading and prepared for the last day at Lynda.com.

Wow last day. It seems like the week just flew by.  So many positives lessons this week such as:

  •      do it, don’t just think about it, make that call, write to that person and make it happen. If you don’t, then it won’t happen.
  •      you can do anything you want. There are people that want to help. Provide an outstanding service and people will help you make it happen.
  •      there are some wonderful people in this world that have jobs that they adore and look forward to each and everyday. So if work is not fun, find your passion and just do it.
  •      Help people get what they want and  they will help you accomplish your goals.

I arrived at lynda.com at 8:30 for the final recording of the IPad stuff and the creation of folders videos.  These were shot in a booth capturing my mouse movements and content on my IPad.

IMG_1289

Recording done, it was time to have a meeting with Shea trying to determine if there was anything else we could do to add more value to the course.

Ok, all the work done, the guys decided we should have lunch in Aron’s town, Santa Barbara. Having lunch with Shea and Aron was a wonderful conclusion to an amazing and productive week.  Man what a week!

FullSizeRender_1 copy
Renaldo, Aron and Shea

Well Sunday arrived, had breakfast and headed to the airport.  Once I got to the car rental place I met Orlando Jones, who was waiting for a enterprise bus to the airport as well.  

He was a really nice guy who had a lot of constructive views on education. Nice conversation for the beginning of a long trip back to the UK.

IMG_1384

To everyone I didn’t mention during my visit I just wanted to say thank for making me feel so special and for making my adventure an amazing and interesting one. Jeff and Bob, thanks dudes, YOU guys do an amazing job.

Renaldo and Orlando


Lessons learned from visit to Lynda.com

One thing I always try and do at every opportunity daily is to evaluate my experiences during that day.  Having spent a week at Lynda.com these are my thoughts about my experience based on my observations.

(1)  Keep the main thing the main thing.

Nothing else matters.  What is the main thing I hear you asking? The main thing is what’s important to you and what’s required to make you successful. During my learning journey at Lynda.com, what I’ve seen to be the main thing is creating exceptional experiences for customers through creating learning video courses. At Lynda.com, the main thing was creating my course, getting a set of videos done each day to an exceptional quality in which we would create a complete course, which would provide teachers and other customers with materials which would help them learn and be successful.

(2) Always work for greatness.

Good is good but always go for greatness. You will be happy with the outcome and so will your clients.  During my first day in the studio, the quality of the work we were doing was good, but Aaron Ives said something to me that will remain with me the rest of my life. His comment to me was “Renaldo that was good now let’s go for GREAT”, and that set the tone in the studio for me the rest of the week and for me personally, the rest of my life.

(3) Team work (family)

If you work in a team, make sure everyone know their job. At Lynda.com I observed on a daily basis that everyone not only knows their job, but also enjoyed their job. Even more importantly,  if anyone required help everyone pitched in to help. Regardless! Nothing was too big or too small for people to help each other complete any task. One gentleman, Andrew was exceptionally gifted in terms of making sure everyone else had what they needed to be successful. I was totally blown away from day one not only by his efforts but everyone’s.  Totally blown away by the family feel, cooperation and single focus to keep the main thing the main thing.

(4) Create the Vision

Before you do anything, write down your goals and objectives (script if required) and make them very clear to yourself and the team. Your goals should focus around the main thing. Any adaptation of the script or objectives was made only to enhance the quality of the final product. During our video sessions, regardless of when we changed the script we did it as collaboration between director, the producer and myself. Family, family, family.

“You must be single- minded. Drive for the one thing on which you have decided”. – General George S. Patton

(5) Find good people

During your HR processes, find people who are talented in their field, but also people who can work with others effectively. If not, then either look at your processes or get rid of people who don’t fit in.  At Lynda.com I just saw people who worked to the best of their abilities and enjoyed what they did. Day in and day out. Lynda.com has created an environment where you are allowed to make mistakes and use those mistakes to create something amazing.  During the whole process of creating our project we laughed, made mistakes, laughed and made mistakes again.

But with Aaron and Shea leading the way they provided me with both direction and guidance and laughter.

In the last three years, this was without a doubt one of the most amazing things I have done because in creating the course with Shea and Aaron, we can provide resources for teachers to not only assist them in developing their skills, but also give teachers the knowledge to create content to assist their students learning.

(6) Tools

Provide your teams with the best tools available which will get the job done. Provide the training to employees and trust them to upscale their skills to be world class. My experience at Lynda.com was not only did the staff have worldclass skills, but they continually pushed themselves and each other to upgrade those skills and use those skills on a daily basis.

(7) Communication, communication and communication

During my week at Lynda.com I was amazed at just how open and fearless people are with their communication. Quality communication helps each member of the organisation to improve their workflow. Communication, where people value each other’s opinions. All the quality communication leads to the final product, which goes back to letting the main thing be the main thing. Quality communication which leads to quality videos, quality stories, quality relationships and a quality work environment. They understand where they are going as a company, individual by individual, department by department and division by division.   Not by accident but by quality communication.

(8) Clear vision

There was no one, I mean no one, who I met that didn’t understand the companies vision.

“There can be only be one most important thing. Many things may be important, but only one can be the most important”. – Ross Garber

(9) Feed your people

If possible provide your people with free lunch and drinks during the day, yes this includes breakfast. You’ll be surprised how early people will come in to work, enjoy being there striving to make and keep the main thing, the main thing. Priceless!

(10) Do what’s necessary

Ignore all the things you could do and do all the things you should do. Not everything matters or holds equal weight. So find out the bottom line, which is the main thing, and work on that. Shea and Aaron’s communications and their ability to get to the necessary points, which feeds, into the main goal was fascinating. An example: Shea and I had a conversation about recording the steps on how to complete a task in Adobe Presenter. Shea’s question to me was, “is that really going to help our customers learn”?  Wow! Is that really going to help our customers learn? It was not about adding content to fill a space or just for the sake of it. No it’s about keeping the main thing the main thing and adding values for your customers.  So the next time you are creating or thinking about adding a feature to a product, ask yourself, is it really going to help our customers? A powerful question that deserves a thoughtful answer.

(11) Open Door Policy

If you run the company, division, section of a company, make yourself available to your people. I realise that if the company is big, that as an owner you cant see everyone whenever they want to see you, but have a structure in place where they can get their ideas and points across to you.  

This makes your workers feel more valued and the more valued they feel the more they will do to enhance your company’s reputation, work effectively toward completing the main thing.  Throughout my time at Lynda.com I noticed that if anyone was not in a meeting and you needed to talk to someone you could do that. You just knock on the door and walk in.

Open doors.

(12) Treat your people First Class

Treat your people first class and they will treat your customers/authors with class. It is a win win for everyone. I found it amazing the first class environment throughout the organisation. From my first meeting with Holly the receptionist to the last good byes from Aaron and Shea. First class!

(13) Trust your people

Trust your people to do their job. And when they do, celebrate them.  Display their accomplishment on the whiteboard.  Why not celebrate people to show them how much you care?

(14) Proud of your work

Create work that the whole company would be proud of. If you can’t be proud of it DO IT AGAIN! My first day at Lynda.com, I was worn out by traveling from England which took me around 20 hours to complete. With that and the 8 hours time difference waking up at 2:30am became common practice. So my first day in the studio the work was good, but something interesting happened that set the tone for the whole week. Aron, the director said to me “Renaldo that was good, but let’s go for GREAT”. I thought wow, and that is to me what I witness at Lynda.com. Each and everyday there, we created content that will not just satisfy, but we created content that will electrify. So the point is regardless of what you do, it will represent you and Aaron and Shea reminded me that there is nothing but first class. If you are going to do it, then DO IT FIRST CLASS!

A message that will stick with me regardless of what I do, regardless.

(15) Find your passion

Find what you love to do and stick with it. You might get other benefits later on based on where you started but at first make sure that’s the main thing is what is important. If you produce training, then stick to it and be the very best you can possibly be. If you know someone who is very good at what they do, bring them in and let them provide the training. Pay them well (see number 12) and treat them first class. If they are the best then they should be worth it.

“It is those who concentrate on but one thing at a time who advance in the world”.- Og Mandino

(16) Electric cars

It is the little things that help make people want to work for you and stay with you for the long haul. Celebrate your staff by making sure they are provided with amenities which will help them concentrate on the main thing. One thing I saw that I thought was amazing a was  Lynda.com provides electronic car owners with free power stations for their cars. How can you not want to work for Lynda.com?

So the overall message I got from my visit Lynda.com is to keep the main thing the main thing, regardless of what you have in front of you.  Celebrate your people and they will celebrate you by providing and making sure that the main thing is the best main thing they can develop and produce for your company.

Good luck with your main thing!

Making A Difference with Connections

One of the pleasures of my job Chiswick School is the ability to connect with people and use those connection to enhance the students lives with whom I come in contact with on a daily basis.  The other amazing pleasure I have is the chance to meet people who share the same passions of making the world a smaller, nicer place and to help allow students to experience opportunities which without those connections they would never have.

One such opportunity occurred for me which I could never have seen coming.  This is why I tell my students always try to put your best foot forward regardless of what you are doing because you never know who is watching.  I gave a presentation for Solutions, Inc (link here) recently and Matt Mead(LinkedIn profile here) from the Chelsea Football Club Foundation was in the audience.  Well Matt is responsible for educational strategy and policy across Chelsea Football Club Foundation.

Matt contacted me via Twitter and we found that we have the same passions and decided to do something about it.  Well just so happen Matt’s organization, Chelsea Football Club Foundation was launching their Enterprise competition and I thought it would be a fantastic opportunity for Chiswick School’s Business department to take part in. Once the business department decided they wanted to take the challenge it was a done deal.

Matt, Sam and Carl

Matt, Sam and Carl

So on Thursday 23 of October, we took some of our students to visit Chelsea Football club and man were we excited. Upon arrival we met Matt, Sam, Carl and James (not in this picture) who spend the day with us and an amazing day it was.

Before we got officially started, Matt gave us a small tour in the Hall of Fame which the students got the opportunity to see both pass and present jerseys of players, video of past games and other priceless mementos of Chelsea’s past and present history.

Trophy

We had he opportunity to take pictures with the trophy which was nice.

Then it was time for breakfast.  The students loved that there was food provided for them along with what ever drink they liked.  Ms Momoh and I talked about how professional Matt and his team was. Every detail taken care from the time we arrived to the moment we left. Priceless! Thanks a million Matt, Sam, James and Carl.

Breakfast

From there the students listened to an introduction from Matt and then Carl and Sam spoke about the details of the program.

Introduction to program

Group work

Student's Presentation

After that it was on to the main day task of the day. The students  worked in teams trying to come up with solutions to how Chelsea could use social media to better engage with their target audience.  There were some amazing solutions given by the students who just completely blew us away. Some answers were answers that were totally from a students point of view that we would have never thought of.  Fantastic answers but the icing on the cake for me was how professionally the students presented those idea to us. Target audience covered, social media covered and all answers link to not only getting the football crowd engaged physically by carrying out certain tasks, but emotionally invested,making the club better for all.

One of the fascinating comments I heard from one of our students that day was Sir, “I thought it was just the football player who ran the club. I didn’t know it took so many people to run a club.” Well for me that made the day worth the trip. Learning experiences which will remain with them forever. It is moments like this that makes my job like totally worthwhile. Totally!!!!!

Students interviewed on Chelsea TVAnother really kool opportunity the students had was to be interviewed on Chelsea TV.  They did a fabulous job. The TV reported commented on how professional the students were and that their answers were just amazing. The interviews should be out soon. Students are really looking forward to them.

Chelsea TV

After the presentations, we had the opportunity to go down to the grounds so the students could experience what it is like to be on that level. An amazing experience as I quite sure not many people have had the opportunity our students had.

On the grounds with the students.

On the grounds with the students.

Students

The student were very excited to have the opportunity to be at Chelsea and I wish to thank Matt and his team for an exciting and inspirational day. Thanks buddy!

Chiswick School uses Adobe Presenter to help Accelerate Learning

Accelerating active learning journeys

Presenter StoryBoth in and out of the classroom, Chiswick School in London helps students discover their educational potential by using Adobe Presenter to deliver active learning content. Teachers can tailor their material to maximize in-class productivity and to promote independent learning outside the classroom.

“Adobe Presenter is the ideal tool for active learning. Teachers present curriculum in multimedia format and then work with students individually or as a group so they can learn the most from material,” says Renaldo Lawrence, eLearning creator at Chiswick.

Teachers are also able to learn about their students by tracking content consumption and learner performance with built-in analytics in Adobe Presenter. They can pinpoint places where students are having difficulty and either revise it or provide additional help to students. Since implementing Adobe Presenter, 60% of students are farther along in their studies than at the same time last year. http://adobe.ly/1nQQHMC

Preparing to populate the Adobe Presenter Presentation with Audio

Now that we have added the metadata into Adobe Presenter it is time to learn how to add audio to each of the slides. For this part I will use an entirely different presentation from starch. Lets get started.

There are many different types of audio programs to use. Below I have listen a few which you may wish to use.

  • Optional software – my choice is the very professional Adobe Audition. I use Adobe Audition because it is easy to use and give me the option of easily editing track within the recording and not only setting the levels but raising and lowering the sound easily.
  • If you have a Mac you can use QuickTime, which is a fantastic piece of software.
  • Apple Logic – also allows you to have a more professional approach to creating and editing your audio.
  • Audacity: Free Audio Editor and Recorder – a wonderful and free piece of software.

However I do realize that for some teachers, some of the software you have to pay for may not be a option so for this tutorial, I will use the audio program built into Windows (Sound Recorder) to record the audio.

However, please remember that what goes in your audio recorder is what comes out of your audio recorder. So some advice before you get started:

  • organization – I cannot tell you just how important this step is. Create a folder with your project’s name. Inside this folder, save your PowerPoint Presentation. Create another folder (inside the main folder) and give it the name of audio. All of your audio files will be saved in this folder. As a side note, I would also create another folder (inside the main folder) and name it images. This way all of your images and audio for the presentation will be together.   So your file structure will look like the image below.
Folder Structure

Folder Structure

  • your surroundings – make sure you are in a quiet place. One of the things that you will really be surprised about is the amount of noise that is just there. Stop and just listen. (yea, turn the TV off and that iPod/iPad or/and radio). Quite the noise in your head and just listen. Well that stuff you hear is caught in your recording. So STEP 1 – find as quite a place as you can.


  • don’t wing it (script) – man have I made this mistake so many times. I thought I could just sit down and record the audio. BAM! – WRONG – it won’t happen. OK, maybe once you will get it right, but to be really effective you need to think about your audience, what the message you wish to deliver, how you wish to deliver that message (yes you will have to give up some of your weekends, but hey as a teacher that is NEVER a surprise) and what you want your students to learn and remember.


  • microphone – you will need to find a microphone which give you the ability to record audio. Find one that is in your budget or hey why not ask the Drama department (Music or any other department) to lend you a microphone for the weekend. You have nothing to loose but money. Hey and if you don’t need the money, then please send the money to me. (-: I can think of a few pieces of software or hardware I can buy. Sorry, OK back to the task at hand. I got a little distracted. (please see previous post about microphones you could use)

OK we have the script together, in a quite place and you have a good microphone. Now we can get started.

Using Windows go to the Start Menu and choose All Programs, then Accessories and then Sound Recorder. With you script in hand click record. Once you have recorded your audio make sure to give it a sensible name. This is essential especially if you have lots of audio tracks.

One suggestion is to give each of the audio tracks the same name you give the individual side in PowerPoint. This way you can’t go wrong. OK you can but it will be easier to fix the problem if you do (-: Save the fie inside the audio folder.

Getting Started with Adobe Presenter

Getting started

Getting started

Now that we have read and reviewed the other sections available in this blog, the Adobe Presenter PresentationsArranging the MeetingThe Adobe Presenter Toolbar and Working with Audio and Adobe Presenter, its finally time to open up Adobe Presenter and get started.  Just a few items that we need to make sure we have done before we start working with the  Adobe Presenter toolbar.

    • make sure you have your illustrations (drawings) done which are annotated, showing each item on every page such as video and text and showing the position of each item on each of your pages.  If you make a change somewhere, that’s great  because it could means that you have really thought about the project in a deep manner.  If not, then hey you got it right as far as you are concerned. (possible changes could come when the teacher you are working with changes their mind about an item)

2014-02-15 14.13.42

    • make sure you have added notes to each of the PowerPoint slides along with adding titles to each of the  slides in Outline view.
Using the Outline feature in PowerPoint

Using the Outline feature in PowerPoint

Hey, OK I’m excited to get started.  Now that you have opened an existing PowerPoint presentation or created one, save it and carried out the above steps (phew!!) We are ready. Finally!!


The first step when you open up Microsoft PowerPoint is to click on the Adobe Presenter tab.  On this tab is where you will carryout all the tasks you wish to complete.  Once finishing the editing you will then export the final presentation out for your students. To see a tutorial on how to set the settings then, please click here or the image above.  In this tutorial we will setup the metadata for our Adobe Presenter presentation.  We can add information such as our name, attach files, add your email address and more.
To hear how we are using Adobe Presenter at Chiswick School, then please click here.

The Adobe Presenter Toolbar

Getting Started with Adobe Presenter

Getting Started with Adobe Presenter

Getting started with Adobe Presenter could not be simpler.  First of all, you do not need to learn any other authoring tool.  All you need to do is to open up a previous PowerPoint Presentation, click on the Adobe Presenter tab from within PowerPoint and start creating.

Adobe Presenter toolbar

Adobe Presenter toolbar

There is a great chance that as a teacher, we all have PowerPoint presentation we have created from previous lessons. So get those presentations out, dust them off and lets use them to create compelling, interactive and engaging materials. (this tutorial assumes you have Adobe Presenter already installed on your machine, if not then get Adobe Presenter here.)

In this section our primary goal is to:

  • learning the functions of the Adobe Presenter toolbar

In order to understand how Adobe Presenter works we need to first look at the tool bar that’s installed inside of Microsoft PowerPoint when you install Adobe Presenter.

The Adobe Interactive Toolbar

To start with everything you need is in the Adobe Presenter tab. The toolbar gives you a host of tools to help you create interactive e-Learning materials.

Adobe Presenter toolbar inside of Microsoft PowerPoint.

Adobe Presenter toolbar inside of Microsoft PowerPoint.

  • audio tab
  • record video tab
  • application simulation tab
  • insert tab
  • quiz tab
  • theme tab
  • presentation tab
  • analytics tab
  • tools tab

However there a few things I think you need to make sure of before you start to use the Adobe Presenter tab and it’s functions.  Most of these tasks are just to make your presentation is consistent.

  • make sure all of your titles are the same size
  • all of the body text is the same size
  • check the spelling of each slide
  • each of the sides have notes  in the notes section
  • in outline view each slide has a title
  • bullet point are the same

Below we will look at each of the functions of the toolbar.

Audio tab

Audio tab

record audio tab – in this section of the toolbar you can record audio, import audio, sync your audio and then edit the audio. Especially if you are just starting out, this is the total audio workflow to get the job done quickly and easily.

Video tab

Video tab

record video tab – among the amazing features that Adobe Presenter has is the ability to record video.  This stops you from having to have dedicated video recorder or using an external video recorder. From within Adobe presenter you can do simple edits, yes you can do simple edits from within Adobe Presenter and then place your final video into your PowerPoint Presentation.

application simulation tab – here you can record a software simulation of any screen you have open and insert it as an swf file. (swf is the Adobe Flash publish extension) so if you have an example on your screen of a task you want your students to complete, you can show them how to complete the task.  This gives the students the opportunity to watch the simulation as many times as they need to understand the concept.  Or use the swf file (Adobe Presentation file in a Flip Classroom scenario) From this tab you can also edit the simulation.

Insert tab

Insert tab

insert tab – this tab has five interactions.  The first, allow you to add various interactions such as an accordion, certificate, glossary and a jigsaw puzzle.  This is only a selection of the many items available to insert into your Adobe Presenter Presentation.  These interactions will not only save you time but give your Adobe Presentation an air of e-Learning sophistication.  The really neat thing is that you can edit each of the interactions.  This is one feature that is worth the price of the program itself.

The next tab, the character feature allows you to select from a variety of actors, which can help you get your points to your audience.  The actors come in a variety of poses, which give you loads of choices to use them for different scenarios.

The scene tab, allow you to place varies scenes into your Adobe Presentation such as medical, office-inside and office outside scenes. The other items in this tab are the swf option, which allows you to place swf files inside of your Adobe Presenter Presentation and the video option where you can import video in to your presentation.

Quiz tab

Quiz tab

The quiz tab is great because here you can add quizzes to test your students understanding of their subject content.  You can manage the quiz and import other PowerPoint Presentations into the presentation you are working on and of course add a quiz.  The types of quizzes you can add are:

  • multiple choices
  • true/false

You can also edit the appearance of your quizzes, adding reporting, choose your output options, add question groups and add labels.

Theme/Presentation tab

Theme/Presentation tab

Under the Presentation tab you can preview the presentation, publish your presentation and package the presentation where you can take all your assets anywhere you wish to or share them with your students.

Collaboration/Analytics tab

Collaboration/Analytics tab

The analytics tab is one of the if not the most valuable tab in the Adobe Presentation workflow.  Here you can setup your presentation to allow the dashboard to track your students progress down to the slides they used, how long they stayed on a slide and track just about any information which allows you to intervene if there is a issue with the students understanding of a topic area.

Tools tab

Tools tab

The last tab is the tools tab.  In this section you can manage each of the slides by carrying out functions such as adding and altering information such as the appearance of the presentation, adding a summary to the presentation, choosing the quality of the presentation and adding attachments.   You can access additional Adobe Resources and access help if required.

Working with Audio and Adobe Presenter

rl

In this series we will look at the different ways to include audio in Adobe Presenter.  Audio in our case will also includes video.  We will look at some of the different equipment I use in order to record our teachers and students. (If you want to see my Las Vegas presentation about Adobe Presenter, then please click here to view the recording of the presentation)

May I just say that I use the Adobe and Apple software to do most of my work, but you can perform some of the same functions in other software which is available.

Can I also say from the start all you need is a simple microphone to record your audio into Adobe Presenter. I am just giving you more than one way to record your audio.  Please choose the best way you think works for you.

Using Audio and Video in Adobe Presenter

Using Audio and Video in Adobe Presenter

Hardware used:

  • Editors Keys portable vocal booth Pro 2 Incl. Floor and Desk Stand (link here)
  • Windows 8 laptop
  • Mac 10.9 machine

Software used:

The first think I will talk about is equipment.  When I was trying to make up my mind of what I was going to use, I had a good look around at the different recording equipment available.  I settled on Editors Keys portable vocal booth Pro 2 Incl. Floor and Desk Stand, mainly because it was not expensive, connected to my USB port on my laptop and gives fantastic sound.  I really recommend it to anyone who is just starting out or in the business of recording voice overs.

By connecting  to my laptop, it gave me a easy way of recording the audio straight into the software, in my case Adobe Audition.  However can I point out  that it really depends on the time I have, but  one of the  fantastic feature of Adobe Presenter is that you can record audio straight into Adobe Presenter.  So you don’t need to purchase any equipment if you don’t want to.  I am merely speaking about my workflow.

The great thing about the Editors Keys portable vocal booth Pro 2 Incl. Floor and Desk Stand, is that it includes everything you need to get started and stay relevant. I absolutely love this studio and it is so easy to use with teachers. (prices may have changed)

Editors Keys portable vocal booth Pro 2 Incl. Floor and Desk Stand

Editors Keys portable vocal booth Pro 2 Incl. Floor and Desk Stand

So once the teacher and I set down, we talk about what they want to get across to their students.  Once this is established, the teacher come to the studio and we start recording.  One thing I will say is that to make sure they have added all the notes and headings to PowerPoint Presentation they want to use in their Adobe Presenter along with having notes based on their curriculum.

Mr Ardy - Photography Teacher @ChiswickSchool

Mr Ardy – Photography Teacher @ChiswickSchool

Adobe Audition

Adobe Audition

What the teacher want to say mostly always changes, because teachers, and I am one of them, will either have too much to say (so we need to cut it down), not enough or maybe you can give them a better direction in terms of how they are expressing themselves.  Not in terms of their curriculum, but in terms of delivery and keeping it short.  If you can say what you need to say under 40 second then you stand a good chance of students listening to you.

In terms of machines, Adobe Presenter only works on the PC now, however if you want to record video you can download this program, This video is unlisted. Only those with the link can see it. Adobe Presenter Video Express for the Mac.  Please listen to the great great presentation by Dr. Allen Partridge, an Adobe Evangelist. Please follow him here also (link here)

Dr. Allen Partridge, Adobe Evangelist

Dr. Allen Partridge, Adobe Evangelist

The software is fantastic, easy and useful, which will help you record and produce video that you can distribute to your student and parents.

What we are trying to do is to produce materials which students and parents have access to 24 hours a day, students to help them learn the the curriculum and parents so they understand what their children are learning or suppose to be learning.

Another set of Microphones to have a look at is the Rode microphones.  This company is amazing with the quality of mics they produce.  I use the following because of their quality and price.

The RØDE VideoMic Pro

The RØDE VideoMic Pro

Lavalier Lapel Microphone

Lavalier Lapel Microphone

Lavalier Lapel Microphone

Lavalier Lapel Microphone

Be aware that if you purchase the Lavalier Microphone you will also need to spend about $30.00 (22 pounds ) for some external parts.  See Rode’s website here. Also keep in mind depending on your requirements, you can get a much, much cheaper microphone to use to record your audio. Might not sound great, but you do what you have to do to be successful.  That is all that matters, regardless of what anyone tells you.

Rode also has a microphone which is the smartLav is a professional-grade wearable microphone, that cost around 35 pounds.  All depend on what type of sound you wish to have.  Remember this is just my opinion so make up your own mind.  I am NOT responsible for your decisions.

The smartLav is a professional-grade wearable microphone

The smartLav is a professional-grade wearable microphone

OK, wow, once you have selected your microphone, make sure you have some place that is as silent as possible to record. One of the things I have found that is amazing is how we tune out sound. If you are silent and just listen, there is so much noise that is out there.  So always test your area with your audio equipment before it really matters. Always use the equipment you are going to use on the day of recording and time before you record.

If I am recording the audio I use the Zoom HN64, which to me is the best recorder on the market.  Hey just my opinion.  It has NEVER let me down. Never!!!!!  Cost around £229.00.  They have other more modern versions however.

Zoom HN64

Zoom HN64

To record the video I use a Cannon 700D D-SLR camera, which has been released in Europe weeks before the States.  I think in the States it is called the Cannon T5i (link here)  See the review.  Again not my opinion, just information.  I am just starting in this arena so I am not an expert. NOT at ALL.

Once I have my sound and video I then always if I require video create the content in Adobe After Effects.  I can then use Adobe Media Encoder (which comes with Creative Cloud)  to reduce the size of the file.  An outstanding program for your outstanding productions. Once the content is complete, I export it out import  the content into Adobe Presenter and publish. NICE!!!!!!!!!!

Arranging the Meeting

rl
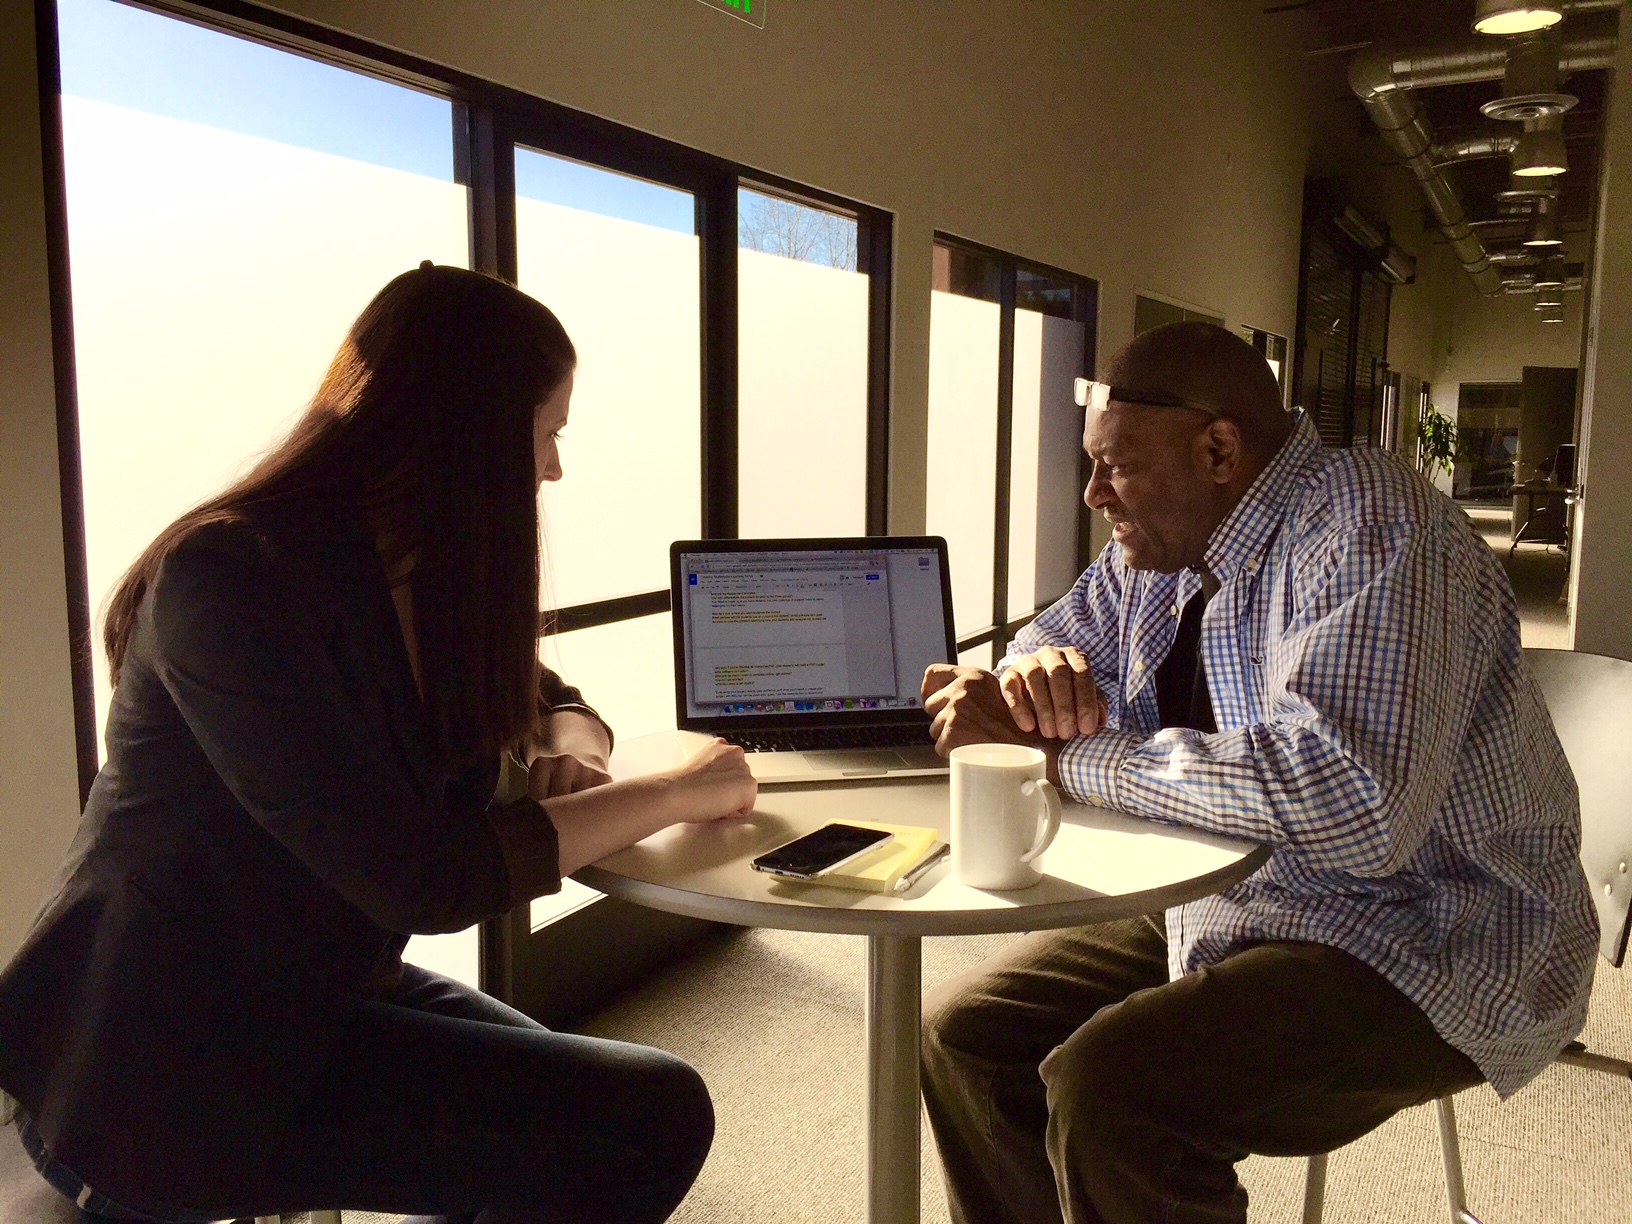
Setting up the first meeting and understanding the resources

arranging_meeting_design_small.fw

In the second part of our series we will look at arranging the meeting with the teacher and the design process.

Before the 1st meeting I always purchase or acquire a quality note or sketchpad. Quality because the work I’m helping the teacher create is changing their student’s lives. So when we are beginning the initial process  it is essential that I create a vision in the teacher’s mind of what the curriculum (product) will look like. This requires quality materials, as my mom always use to say quality in you get quality out. Plus we are establishing a first class work environment from the start.  In my experience if you can see it, you can create it and then you can believe it.  So my solution is to help the teacher first visualize the product, their curriculum and then turn it into something special.

In order to arrange a meeting with the teacher, I usually find them in the cafe during  break-time, in their classrooms, walking the hallways or anywhere they are.  After the initial meeting we arrange to communicate through email or set meetings.  While arranging the first meeting I ask the teacher to bring a few things:

  • their curriculum – they need  to think about the section or sections they want to use for their Adobe Presenter Presentation. By having the curriculum this gives me an overview of what the teacher is teaching over a period of time and how it fits into the bigger scheme of things.
  • an open mind – remember if you have never seen it, then there is a good chance you don’t know what it looks or feel like. That is my job, to help the teacher see their student’s future in terms of how we will create the digital content.
  • a lesson plan – reason for the lesson plan is because it is usually for a single lesson that has been throughout and concise.  It usually always has a starter, main part of the lesson, plenary and resources.  This really helps when we are constructing the future vision of our product.
  • true personalized learning – the most important thing to me during the whole creation process is that we are ensuring that the materials are personalized and suitable for purpose, which includes our students.

Once I have a good understanding  of what the teacher requires the next step is the design phrase.

The Design Phrase

During this process we sit down and sketch out the teachers ideas.  All drawings are annotated so we understand the what text is required, video are needed, size of fonts, the font themselves, audio and any other items we will include. Each page is done this way so there are no surprises for anyone. We look at the PowerPoint Presentations and make sure they have notes, heading, body text and that everything is consistent throughout the presentation. This is important because all these items are extremely importantly when publishing the Adobe Presenter Presentations.

2014-02-15 14.13.42

When we are designing the presentations we always keep the main goals in mind which are to create content which is going to help out students be successful and to help them understand their lesson content.  While creating the designs we make sure that the students have an effective and logical navigational path through the presentation.  This is where Adobe Presenter really shines and all the leg work in PowerPoint pays off.

So once we have all the designs done, it is time to record the audio and create the videos.

Adobe Presenter Presentations

It never fails when I present at conferences that someone doesn’t ask me how you go through the process of working with teachers.  So I thought I would explain the  whole process and by doing so explain how I use one of my favorite programs out there.  That program is Adobe Presenter.  You can find the link to the site here.

rl

I think in order to get different ideas of what’s possible with this program and others, you have to expand your mind and look at other areas.  Technology for me sometimes is not the only area to look and these magazines below are my bibles when it comes to different ideas.

There are some unbelievable smart people in this world and I have always thought why not learn from them if I can.  Man the ideas I get from just reading the articles.  As a matter of fact the idea for this set of tutorials came from an article I read in the Fast Company magazine. So in my opinion if you want to think differently, read something outside of your field and give yourself a chance to integrate other thinking into your work.  Same thinking  day in and day out does not give you a chance in my opinion to be the best teacher or person  you can be. Rock the boat, why not??

Magazines

Magazines

teachers_small.fw

The process of working with teachers usually take the following steps:

  • meeting the teacher to listen to their ideas
  • integrating my ideas with theirs to give them a different perspective
  • reviewing their curriculum
  • understanding their lesson plan based on that curriculum
  • developing the concept
  • designing on paper
  • finding the assets
  • recording video and audio
  • editing those assets
  • getting their approval of those assets
  • designing prototype
  • testing and getting feedback from the teacher
  • making adjustments based on the teachers feedback
  • redesigning or making changes
  • retesting
  • getting the teachers approval
  • testing again on students
  • delivery of the product
  • teacher use the app in class
  • feedback is given to me
  • any changes necessary is carried out
  • end of process and move on to the next department/teacher

Phew!!!  I usually try to get all of this done in around 2 weeks. The only hangup if the teacher is busy or doesn’t have the assets to give me.  So in the coming weeks I will upload information about how I handle the process.  I will include my thoughts, videos and any illustrations to help me explain the process.   Examples of the illustrations are below.  I take this process when I working with teachers where I frame everything.  I am a very visual person and this help me keep on task.

Cover

Cover

2014-02-15 14.13.42

This way the teacher can see where we are going and both of us understand the whole process.  You have got to understand that most time it is your vision and people need to see what they cant envision. I created this guide to develop this series and without it I have found I could go off course.

I have found this with teachers also, you have to stick to the script so you don’t get off task and you need to make sure that the materials you are designing for is for your audience, the students.

So the task now is to get the videos done and uploaded.  As I created them I will post some illustrations showing how I am working.  First image of my work in After Effects is below.

After Effects

After Effects

Well got it done. Introduction video is here. This is the first in a series of videos.  I’m looking forward to now only explaining the process of developing materials for teachers and students but to give you an idea of how FANTASTIC a product Adobe Presenter is.  If you are starting your eLearning journey with out this product, you are not being as effective, in my opinion as you can be.

Just my opinion.